Badge Design
Badges are a crucial aspect of any event as it allows organizers to efficiently identify and manage attendees. With proper badge printing, you can ensure that attendees are properly registered, have access to the appropriate areas of the event, and are easily identifiable to event staff.

The badge design should include all the relevant informations such as the attendee's name, organization, job title, and any other pertinent details. The design should also incorporate the event logo and any branding elements that are relevant. Here is a quick guide on how to design a badge in Eventify.
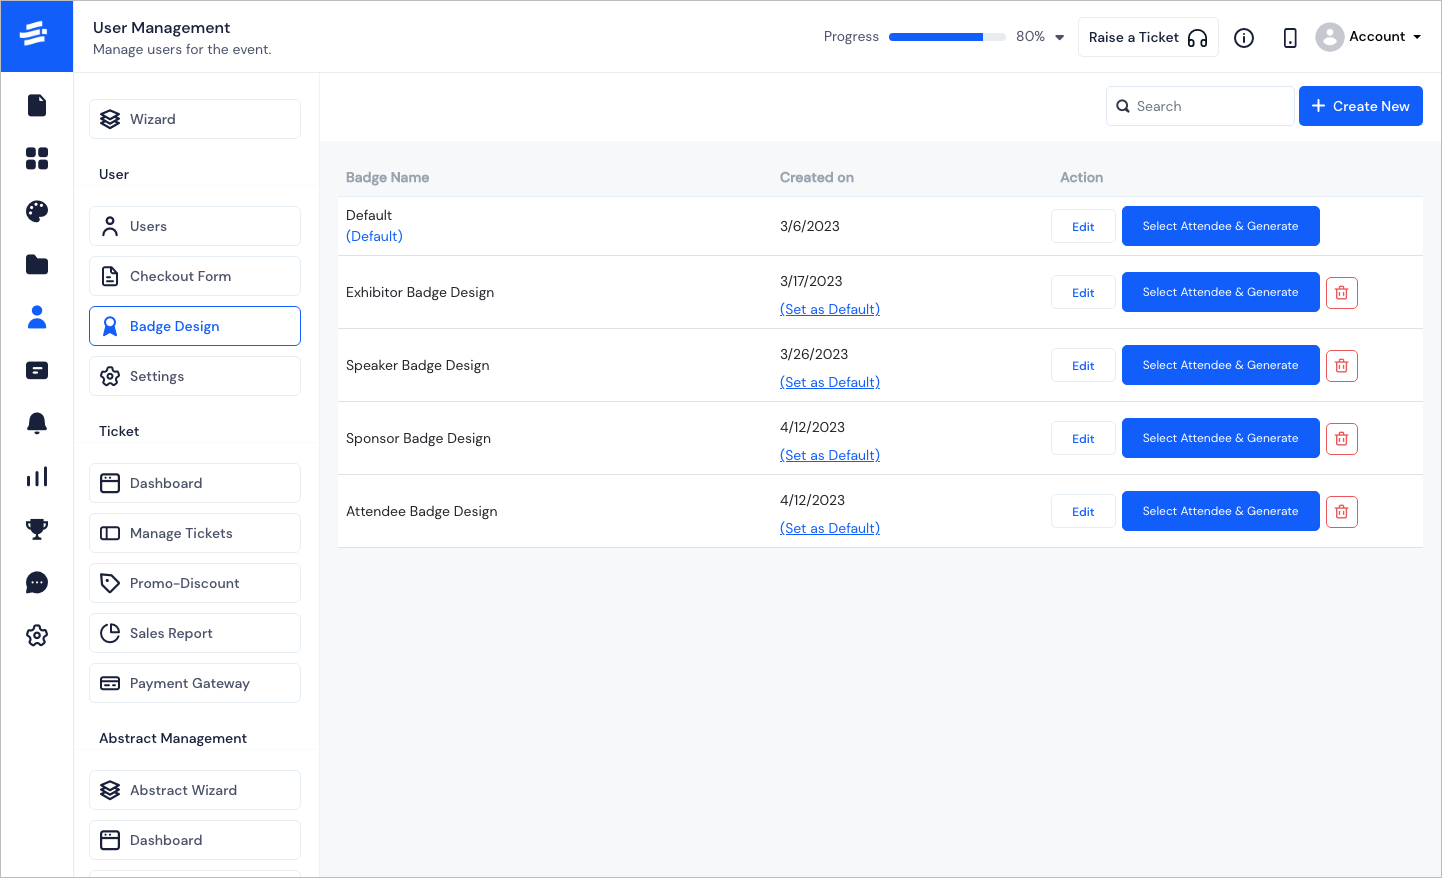
To Add a new Badge design, click on the Create New button. The Badge Design pop-up window will appear. You will also find that there is a Default badge design pre-created to be used for all types of users.
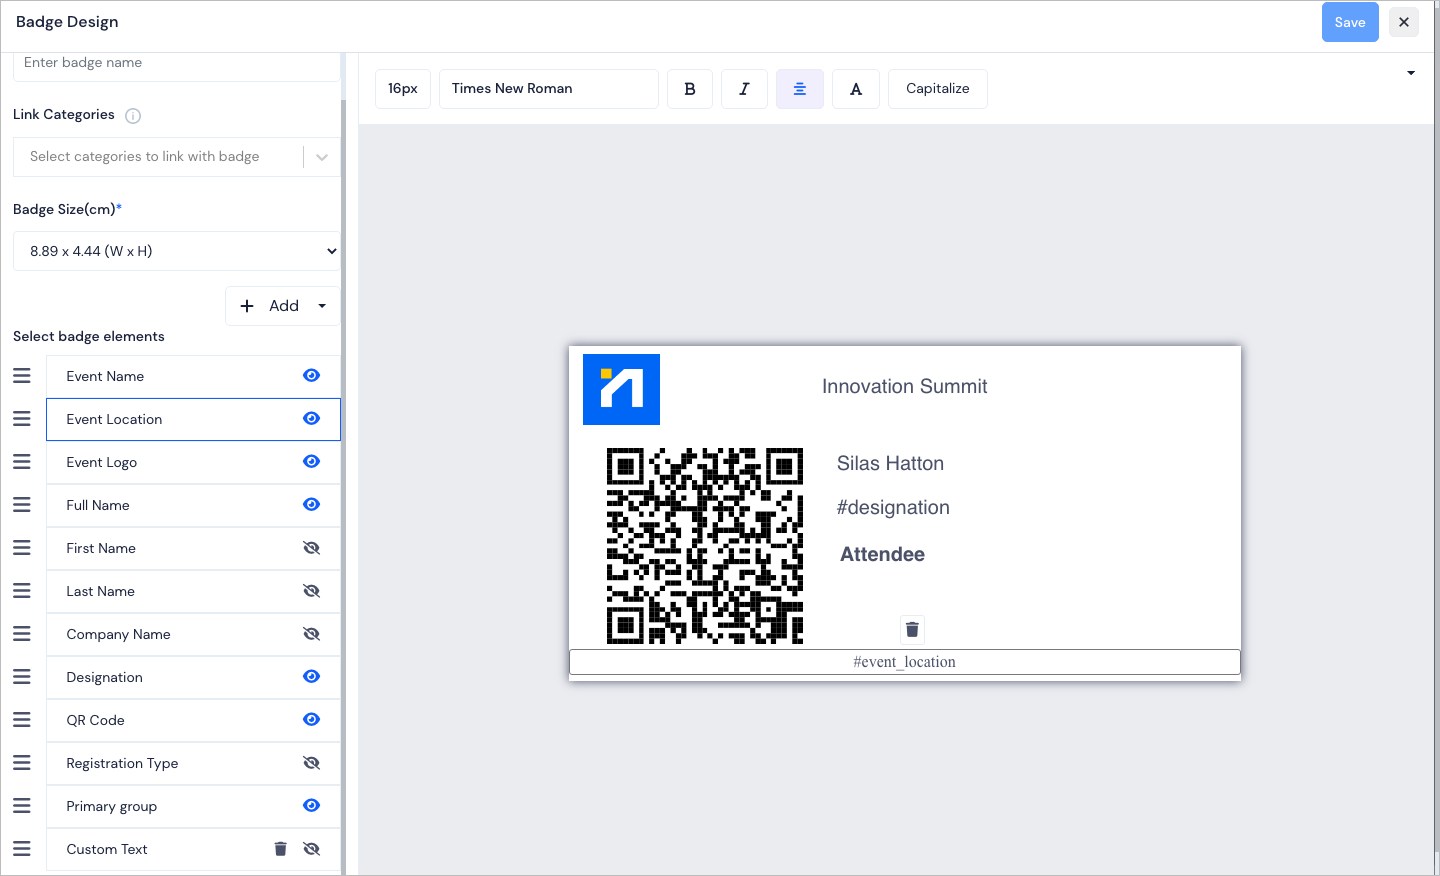
You can enter an appropriate name of the design in the Badge name field
You may link the design to a particular user group viz; Attendees / Speakers / Sponsors etc. You can leave it unlinked too if you wish to keep it generic.
Next select the Badge Size in centimeters from the list of predefined sizes or add a custom size.
Now you can design the badge template by simply turning on the visibility of the required badge elements
Each element can be moved to place on the badge canvas, deleted or resized.
For text elements, you can also modify it with the given font style options.

- Click on Save to add the Badge design. Proceed similarly to add more Badge designs.
You can also edit, delete the badges and manually generate the badges for selected attendees per template design.