Setting up Brother Label Printer
Eventify supports almost all Wi-Fi based Brother Label Printers for onsite badge printing. Here is a step-by-step guide on setting up Brother Label Printer (with the reference of the model QL-810W) with a Wi-Fi router and Eventify iOS app.
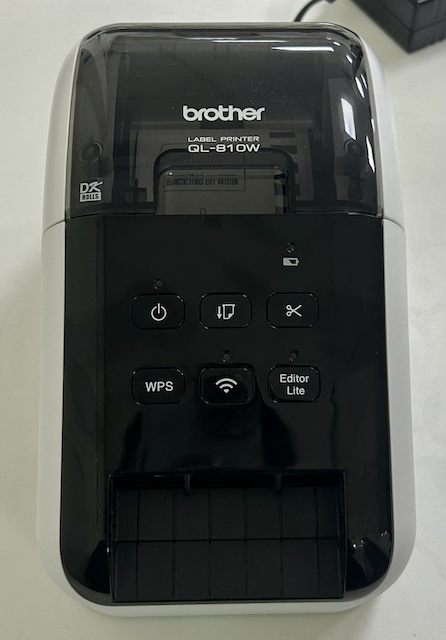
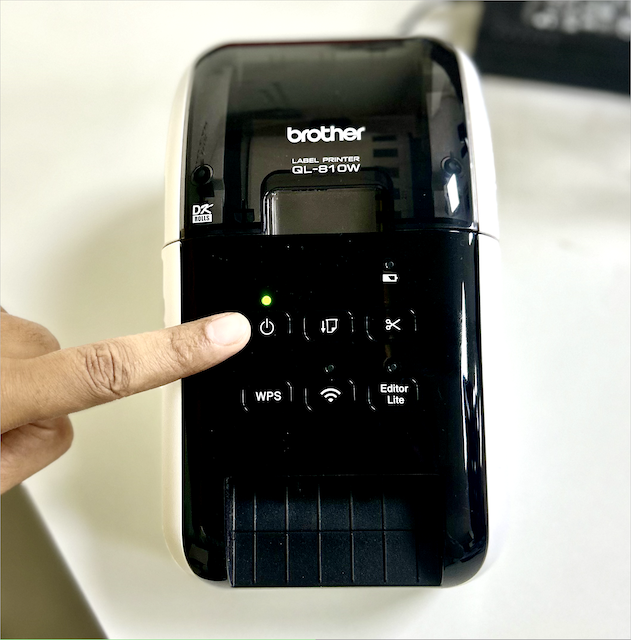
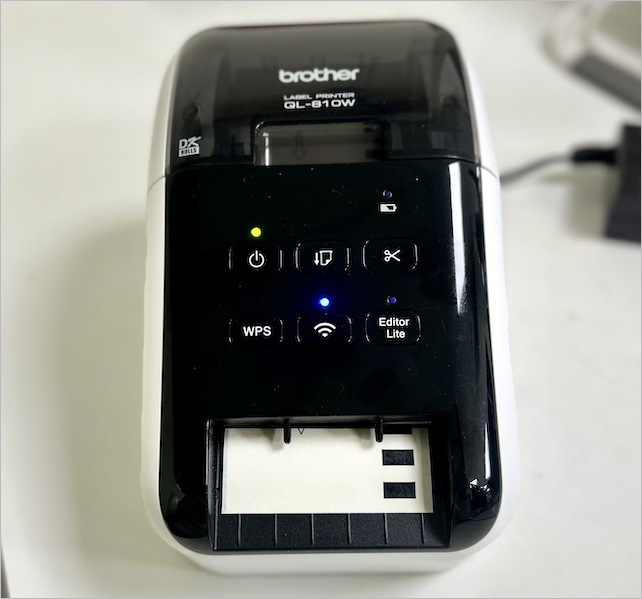
Step 1: Powering up - To start using your Brother printer, first, connect the power cable to the device, then press the power button located on the left side of the printer.
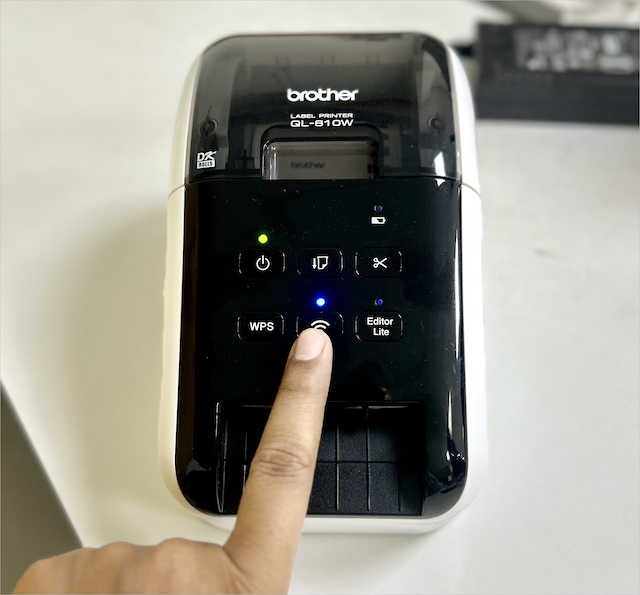
Step 2: Connecting the Wi-Fi - To set up the Wi-Fi connection, long press the Wi-Fi button. Once you see the Wi-Fi light, go to your Mac computer
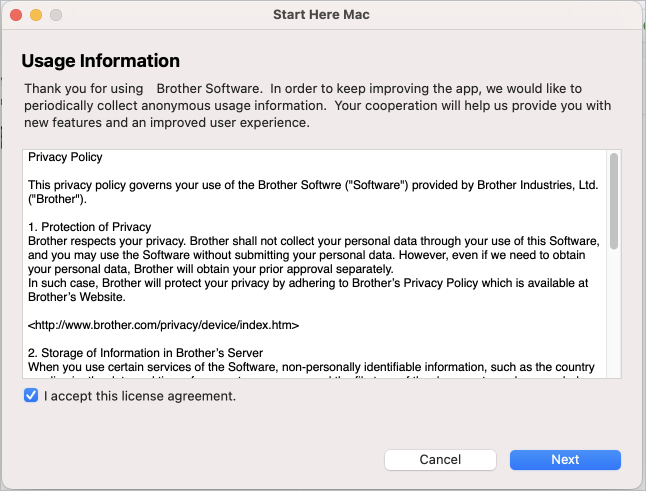
Step 3: Download the Brother Software and follow the instructions as they come.
Before initializing the setup, get a few things handy which will be required in the following steps-
The USB cable that is provided in the box of your printer.
Your router's SSID/ESSID and Network key.
Now let us start the setup process.
A- Initializing the setup by accepting the license agreement
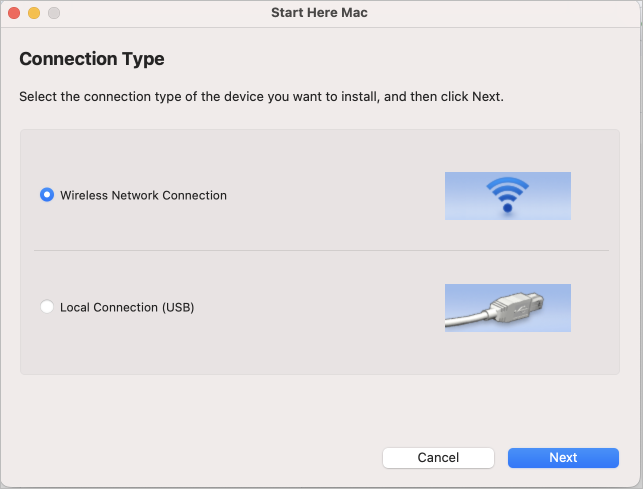
B- Select the connection type to be Wireless Network Connection
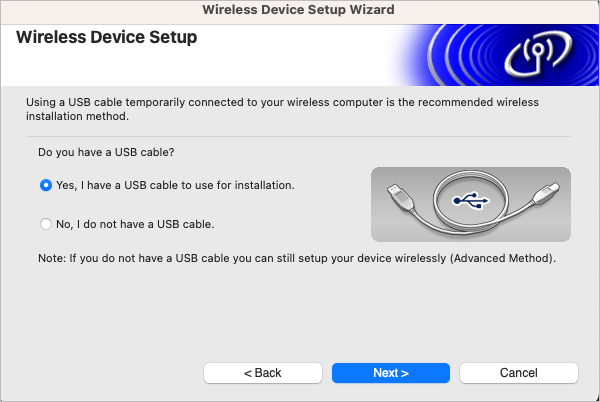
C- If you have not previously collected the USB, get it ready now and then, select 'Yes, I have a USB cable to use for installation'.
D- If you have not previously collected the router's SSID/ESSID and Network key, collect them now and check on 'Checked and confirmed'

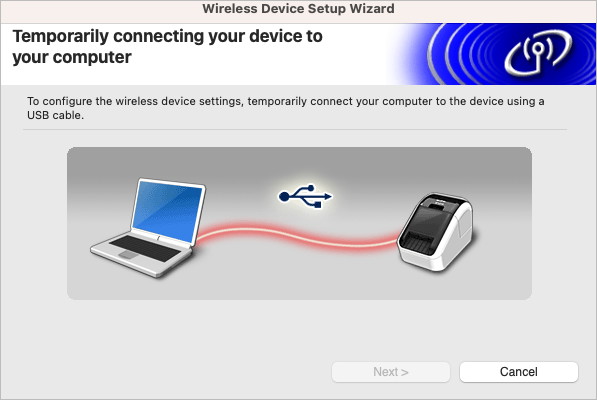
E- Now Attach that cable to your printer and your Mac computer. Once you have connected it you can proceed to the enxt step.
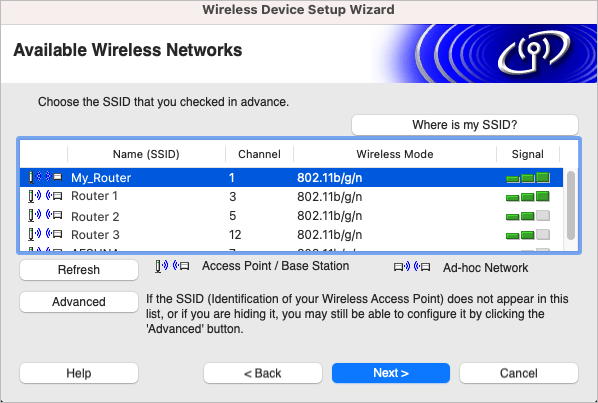
F- You will be able to see all the available wireless networks.
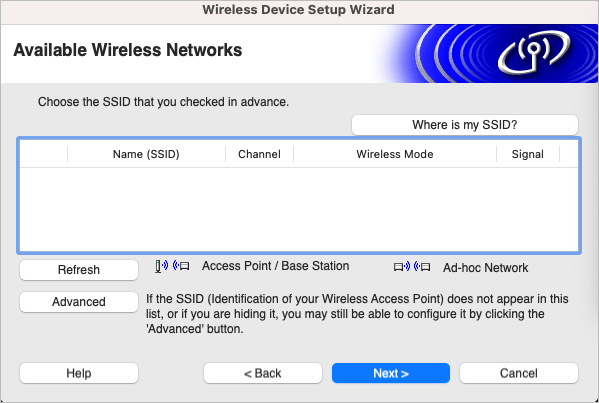
F- Select the SSID that you had checked and collected earlier.
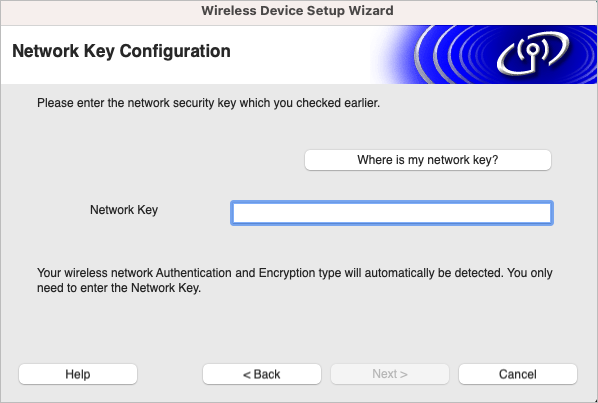
F- Enter the Network Key (wireless network password) that you had checked and collected earlier.
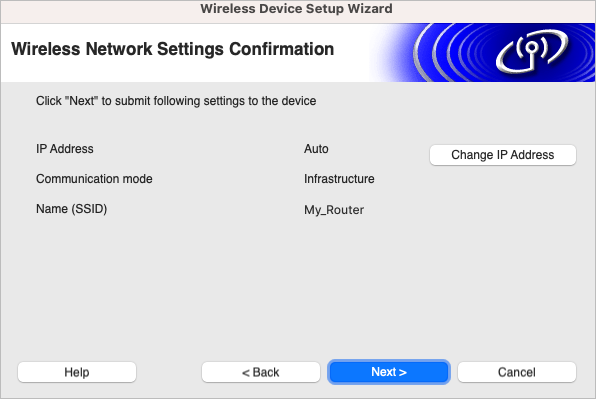
G- Confirm the settings displayed in this step.
Note: It is recommened to use static IP address. Go to Change IP Address and set the IP.
Once you are set, click 'Next' and your Printer will be connected to the router.
Step 4: Now that the printer setup is done, let's load the paper roll in the printer.
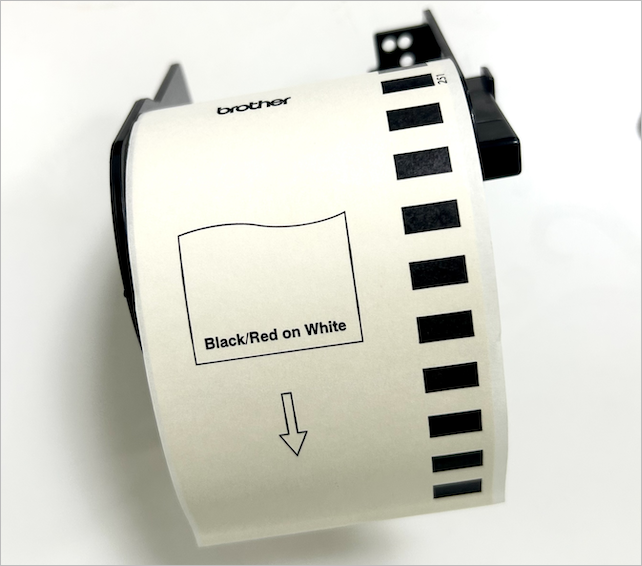
The roll comes with holder and you need to find the slot that has the space for the roll holder clips.
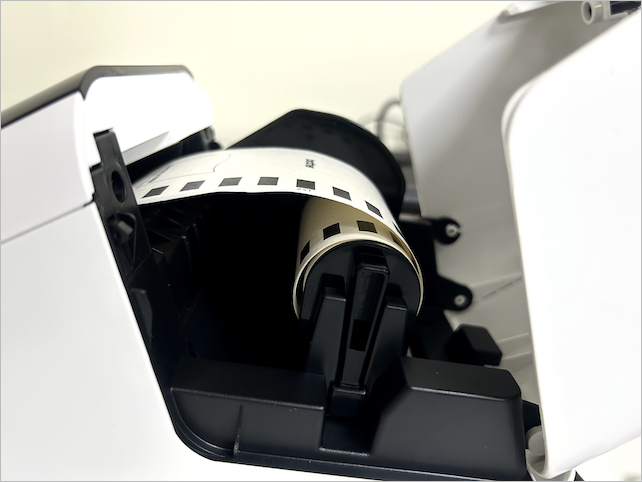
Roll out the paper until it's slightly visible in the print exit area of the printer. Once you are done close the lid and the printer will automatically calibrate the roll.
Step 5: The printer is all set at this point. The last step would be connecting the Admin App with the printer.
Login to Eventify iOS application with the admin access.
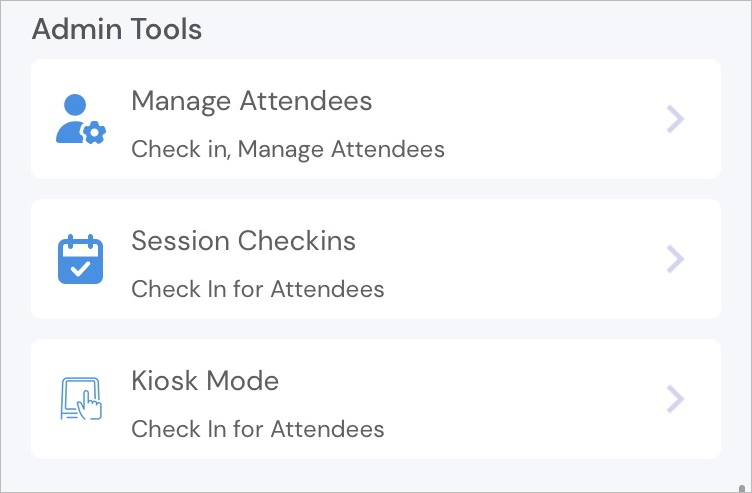
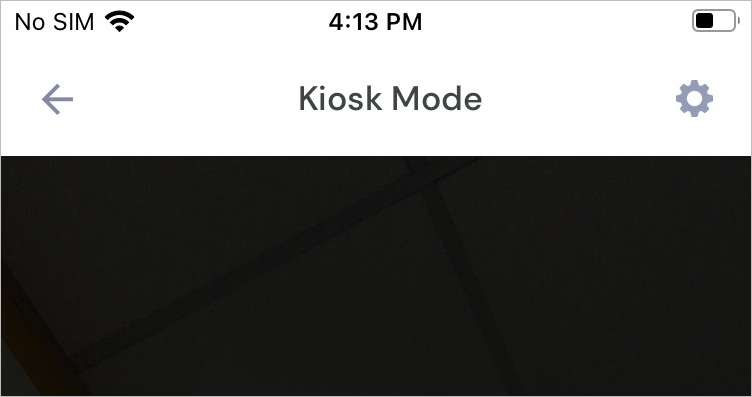
Go to Dashbaord and then select Kiosk Mode.
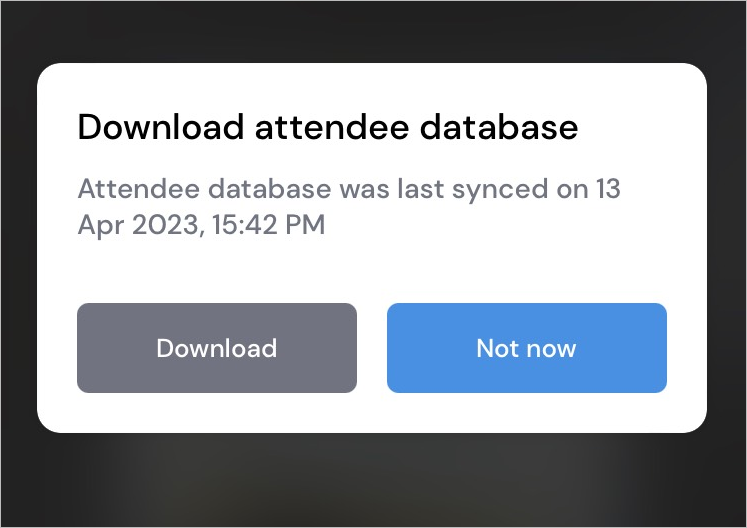
- You will get the option to download the attendee database. Tap on Download.
- Once the database is downloaded, go to Settings (gear icon).
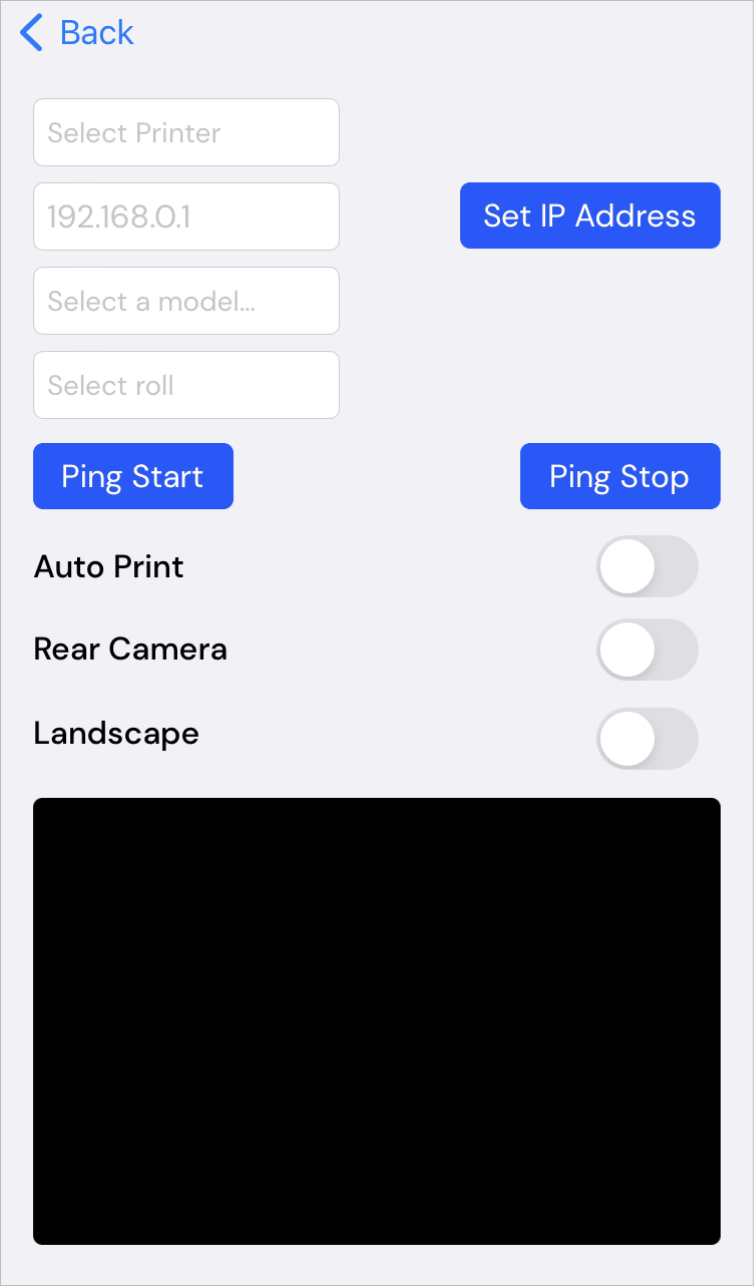
Now you can connect the printer with the Eventify app.
Select the printer from the list of supported printers (Brother here)
Enter the IP address as set in the previous step '3G' and tap on Set IP Address.
Select the model of your printer and the roll will get automatically set.
Note: You can test the conection between Eventify and the printer with Ping Start
Set Auto Print on if you don't want to tap on Print Badge everytime a QR is scanned for printing as mentioned in the last step of Instant Badge Printing with Brother Label Printer
Finally, you are all set! For more help with the badge printing process, refer to Instant Badge Printing with Brother Label Printer.
The current compatible Brother printers include
- PJ-673,
- PJ-773,
- PJ-883,
- RJ-4040,
- RJ-3050,
- RJ-3150,
- RJ-3050Ai,
- RJ-3150Ai,
- RJ-2050,
- RJ-2140,
- RJ-2150,
- RJ-4250WB,
- RJ-3250WB,
- TD-2120N,
- TD-2130N,
- TD-2125N,
- TD-2125NWB,
- TD-2135N,
- TD-2135NWB,
- TD-4420DN,
- TD-4520DN,
- TD-4550DNWB,
- QL-710W,
- QL-720NW,
- QL-810W,
- QL-820NWB,
- QL-1110NWB,
- QL-1115NWB,
- PT-E550W,
- PT-P750W,
- PT-D800W,
- PT-E800W,
- PT-E850TKW,
- PT-P900W,
- PT-P950NW
The above list of compatible printers provided is not intended to be exhaustive and is subject to change without prior notice. While we strive to include a wide range of printer models, it is important to understand that compatibility may vary, and support for specific printer models can be modified or discontinued at any time at the company's discretion.
In case you have a printer from a different provider or have issues with your model of Brother printer, feel free to contact us at hello@eventify.io for support.