Ticket Control Made Easy: Managing Event Passes
After adding the event tickets, connecting the payment gateway, and completing the mandatory ticket settings, you are all set and ready to make the ticket sales Live.
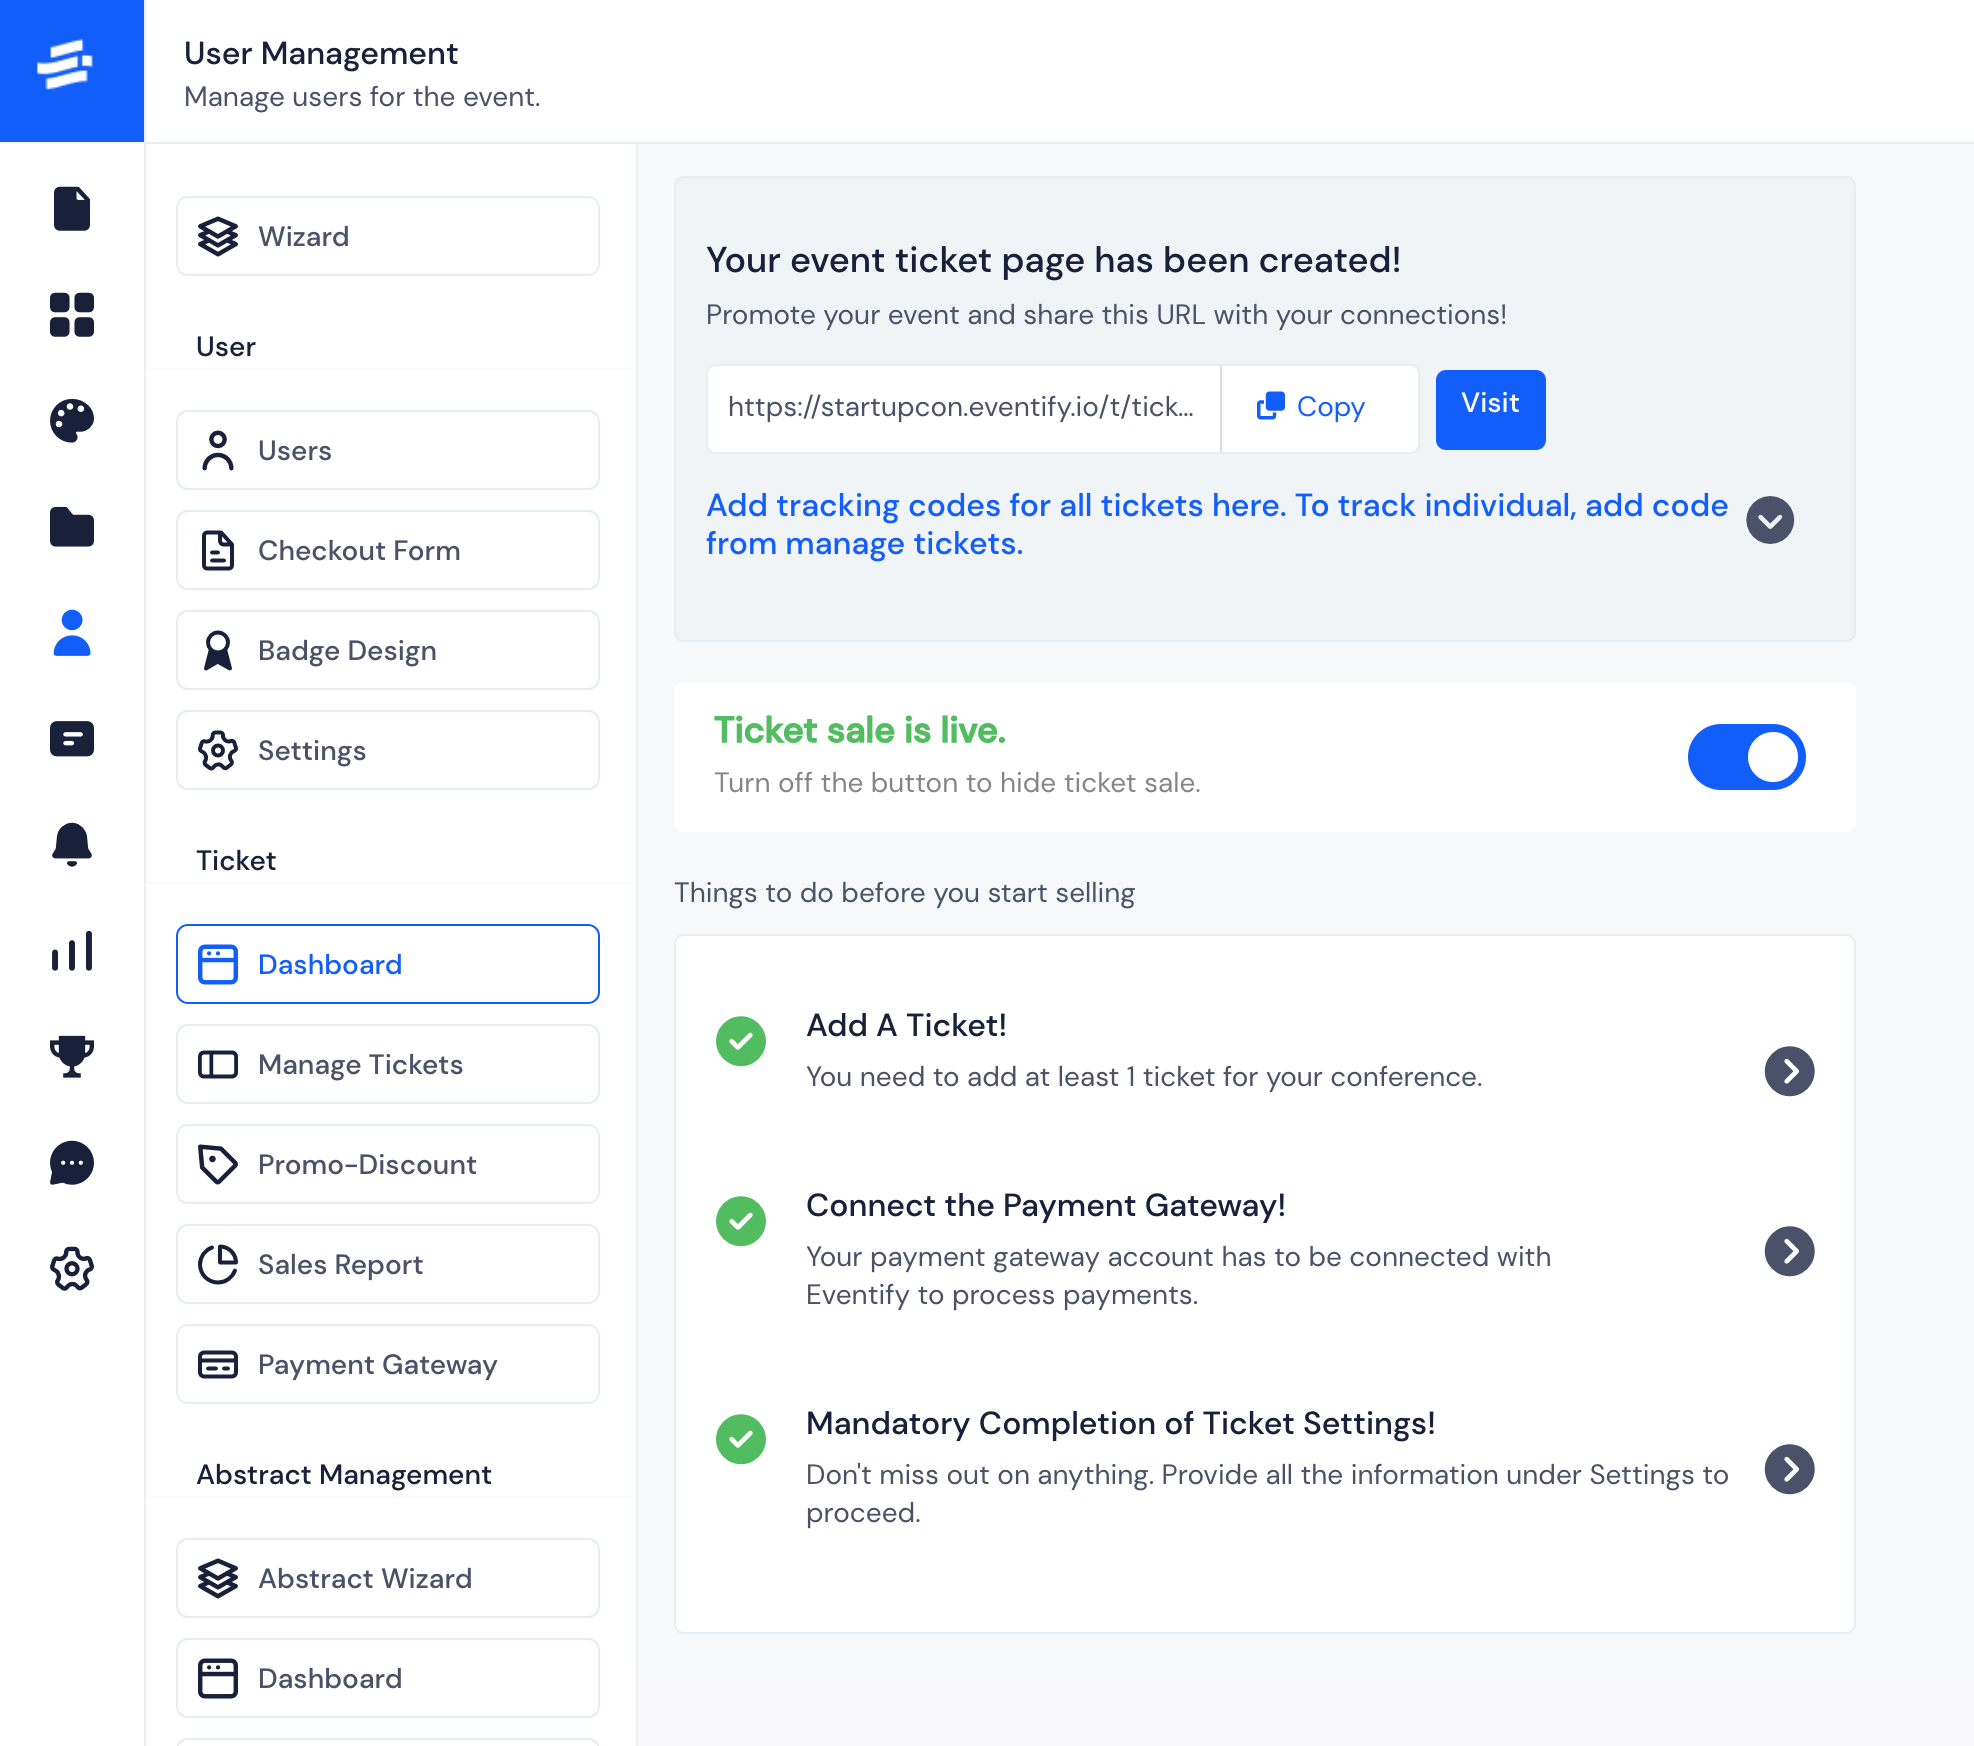
The first and foremost necessity - Ticket sales page. It is automatically created for you when you create your first ticket. Go to User Management > Ticket > Dashboard to get the URL to the ticket sales page.
To know more about how to use this page Go to Sell Tickets Outside Eventify

After the setup is done, here is how you can manage each individual ticket.
Manage Tickets#
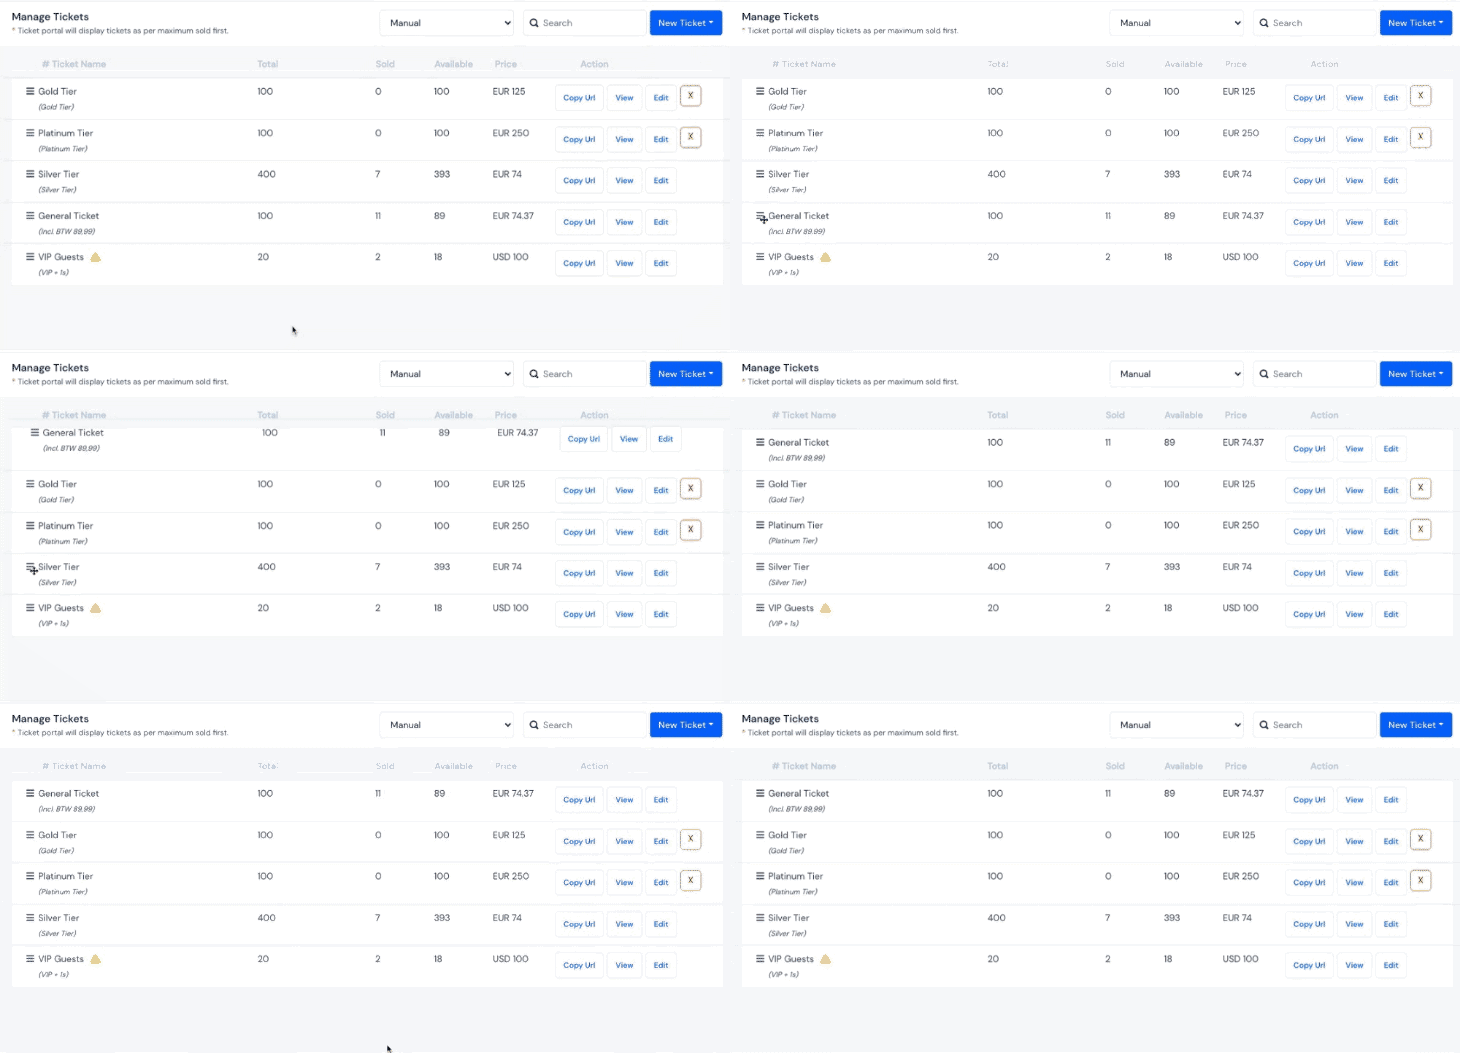
To manage user tickets Go to User Management > Ticket > Manage Tickets
Here are the ways in which you can handle and manage tickets more easily and effectively:
- Drag to rearrange the ticket order as you want to display it to the users on the ticket page.

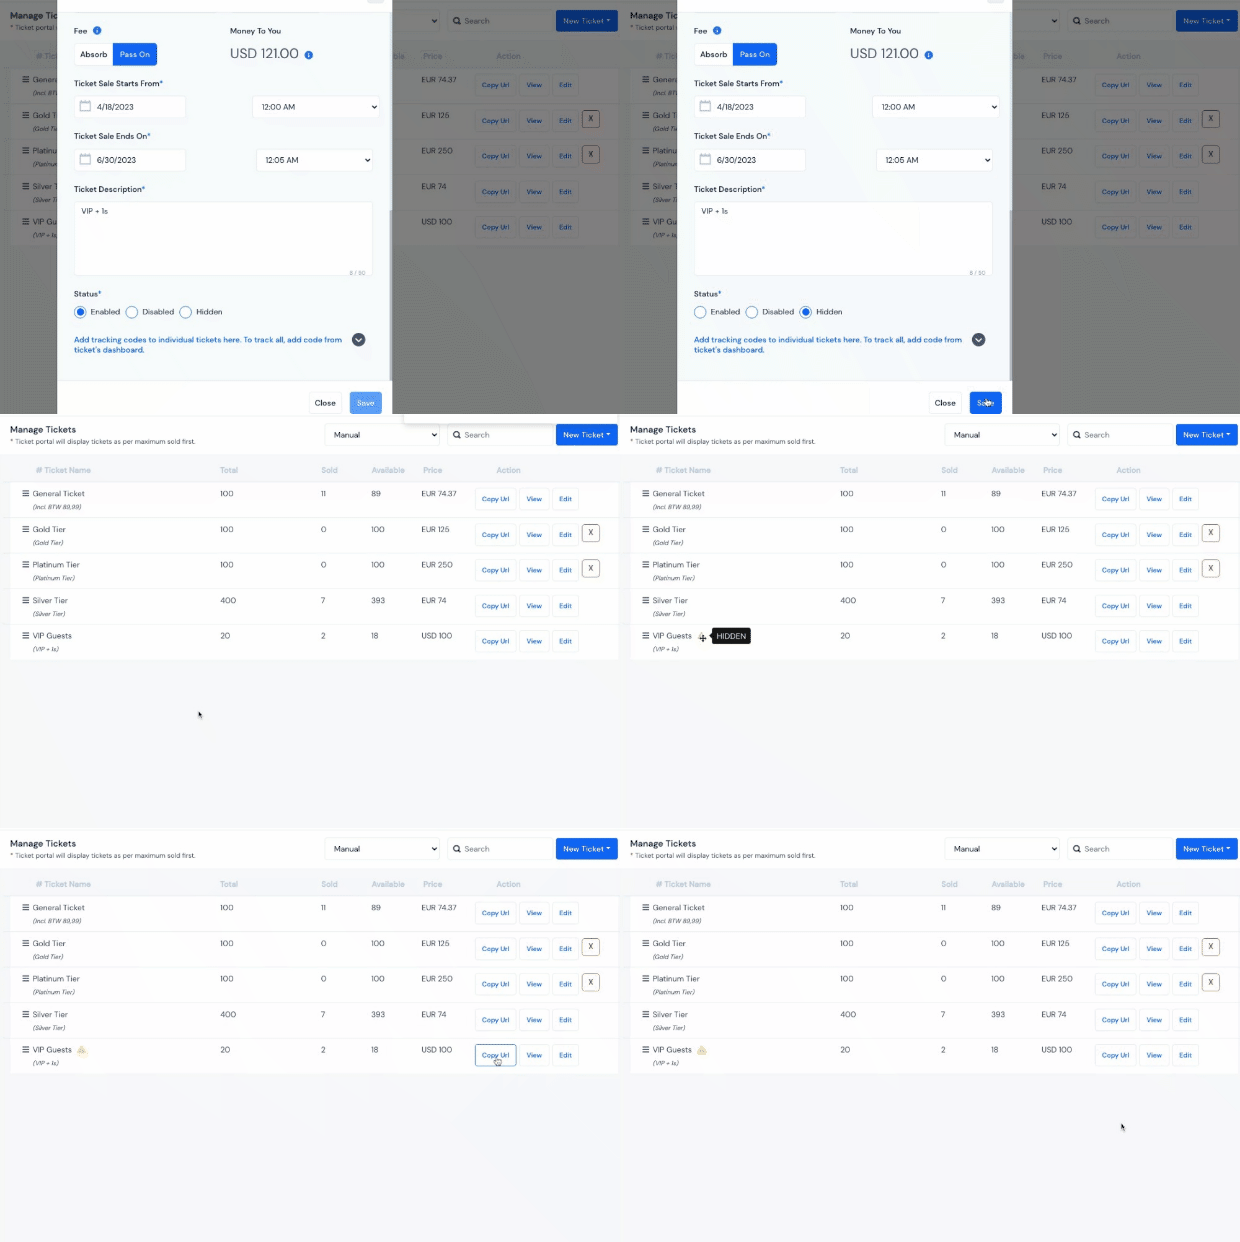
- Create a private ticket and copy the single ticket URL to provide it to a particular group or person.

- Create and manage tickets based on the user group, like- attendees, sponsor, exhibitor, and speaker.

- Filter according to top sales sold, ending soon, or manual search.

- At any point, edit ticket information and settings if required.

- If you want to track your tickets, inside that ticket, add the Tracking Pixel custom code for the header and the Tracking Pixel custom code for the footer.
![]()