My event has multiple tracks. How to add them?
Crafting a well-structured event schedule is essential to maximize attendee engagement, optimize resource allocation, and ensure a memorable experience for all attendees.
Let's see the process of creating a session's schedule.
Go to Content >Schedule. You can see all the dates of your event.
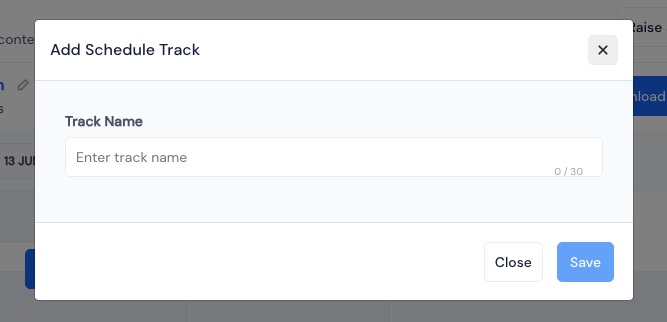
If you want to add the session in a track, click on +Add Track. (Each date can either have Tracks or be Track less.)
Enter a Track name and click Save. This will create a new Track.
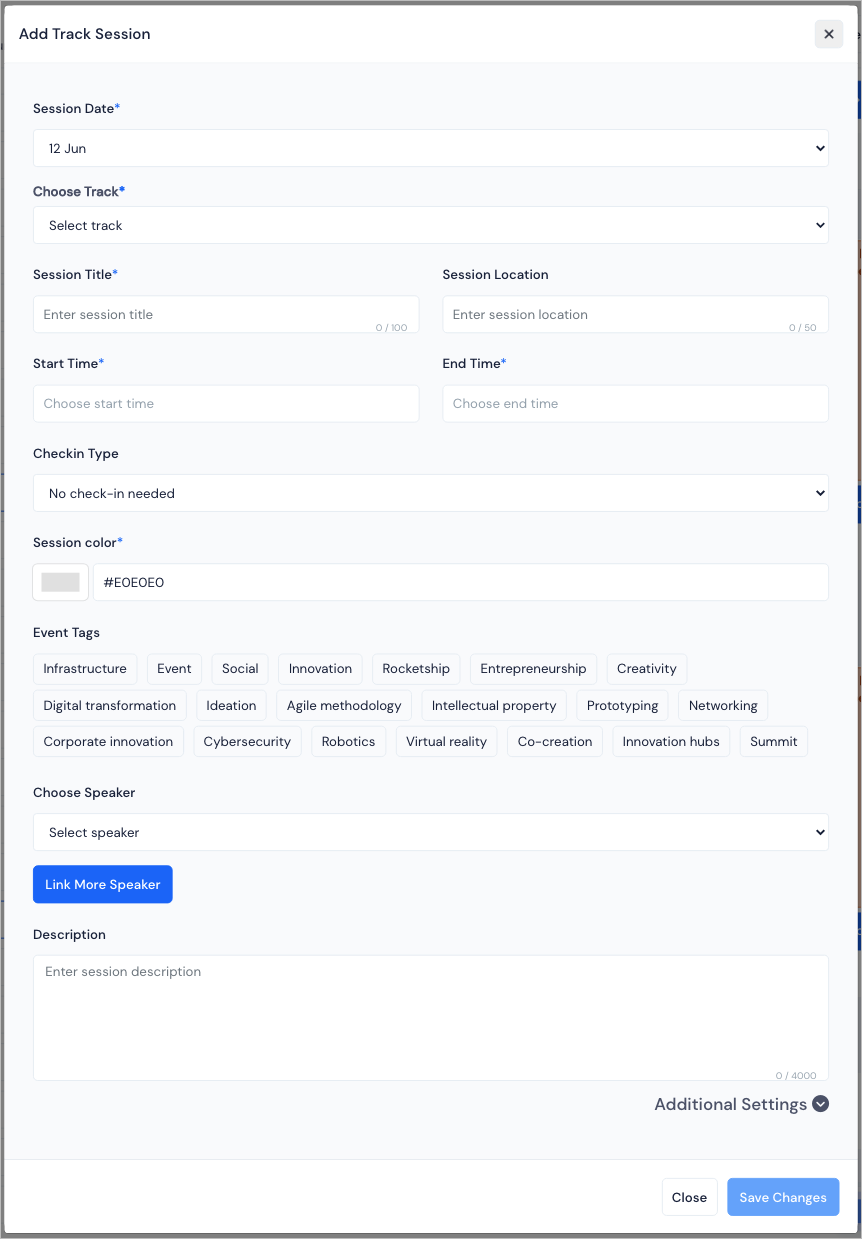
Click on the New Session button.
Select the Session Date.
Select a track that the session will be added to, from Choose Track.
Give the Session Title.
Enter the Session Location or you can skip it.For Session Location you can give the venue/location name.
Select the Start Time and End Time of the session.
Select the Checkin Type that determines how the session can be attended and how the attendees are tracked. It can be set to No check-in, self check-in and Scan QR check-in.
If you wish you can change the color for the session from a predefined palette of Session color.
Select tags to Highlight key activities for the session.
Select one or multiple speakers for the session.
Provide a description to define the goals and objectives the session.
Additional Settings#
To further customise the event, you can fill out the Additiional Settings
Choose The session type among these :
General & Public
General & Private
With Ticket & Public
With Ticket & Private
Set up with RSVP settings to confirm attendee availability.
You can add a video or meeting link for the session too in case you want to make it accessible virtually.
Add any session related files under the File upload section.
A reminder push notification can be set for the session with a custom message from Push Message and preset time for reminding the attendees before the session start time from Send Push Before Session Start.
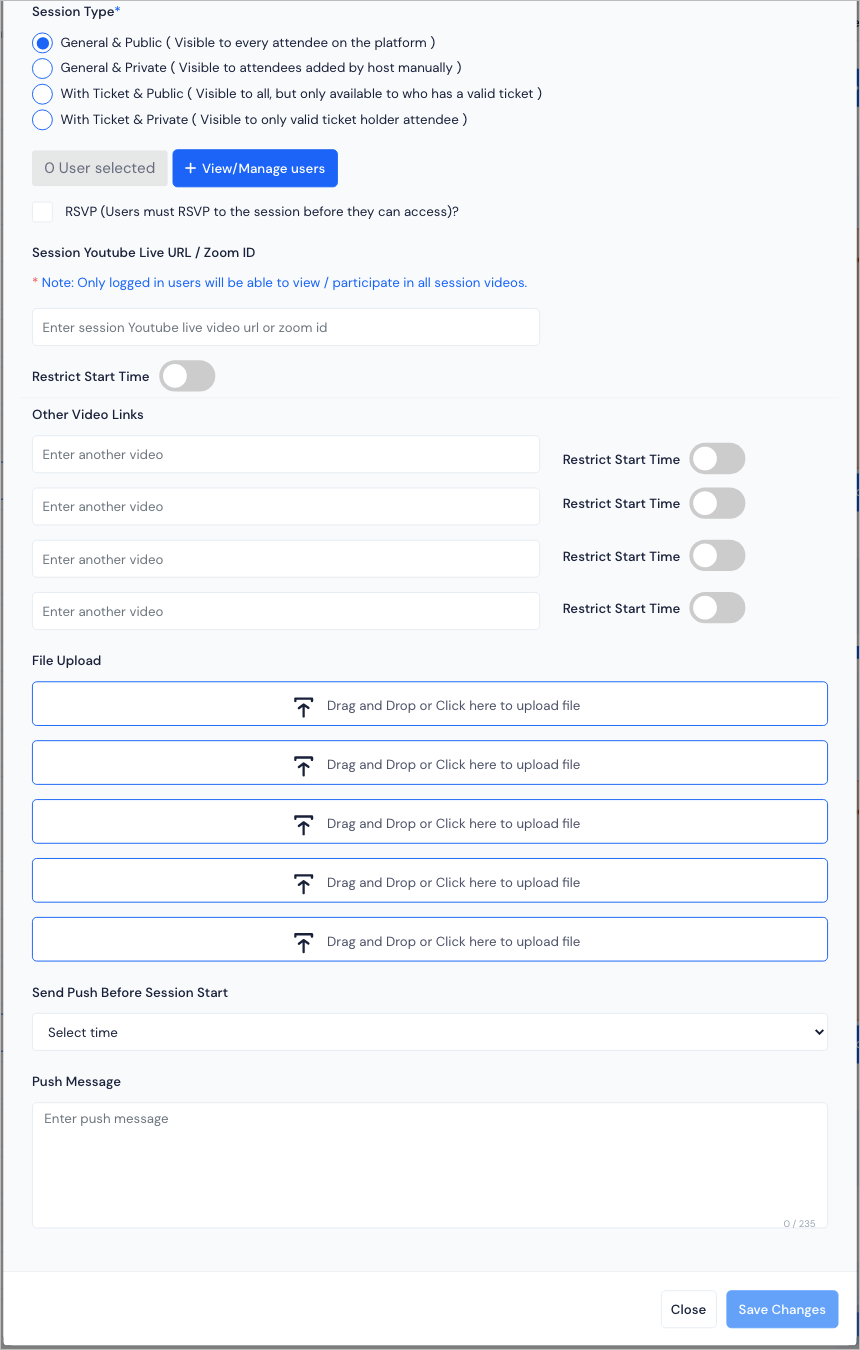
- Click on Save Changes to save the Session.
The session will be now displayed on the calendar under the specified date and time with a zoom option. You can add any number of session.
Note : Session can be added through Excel import or bulk edit feature also.